


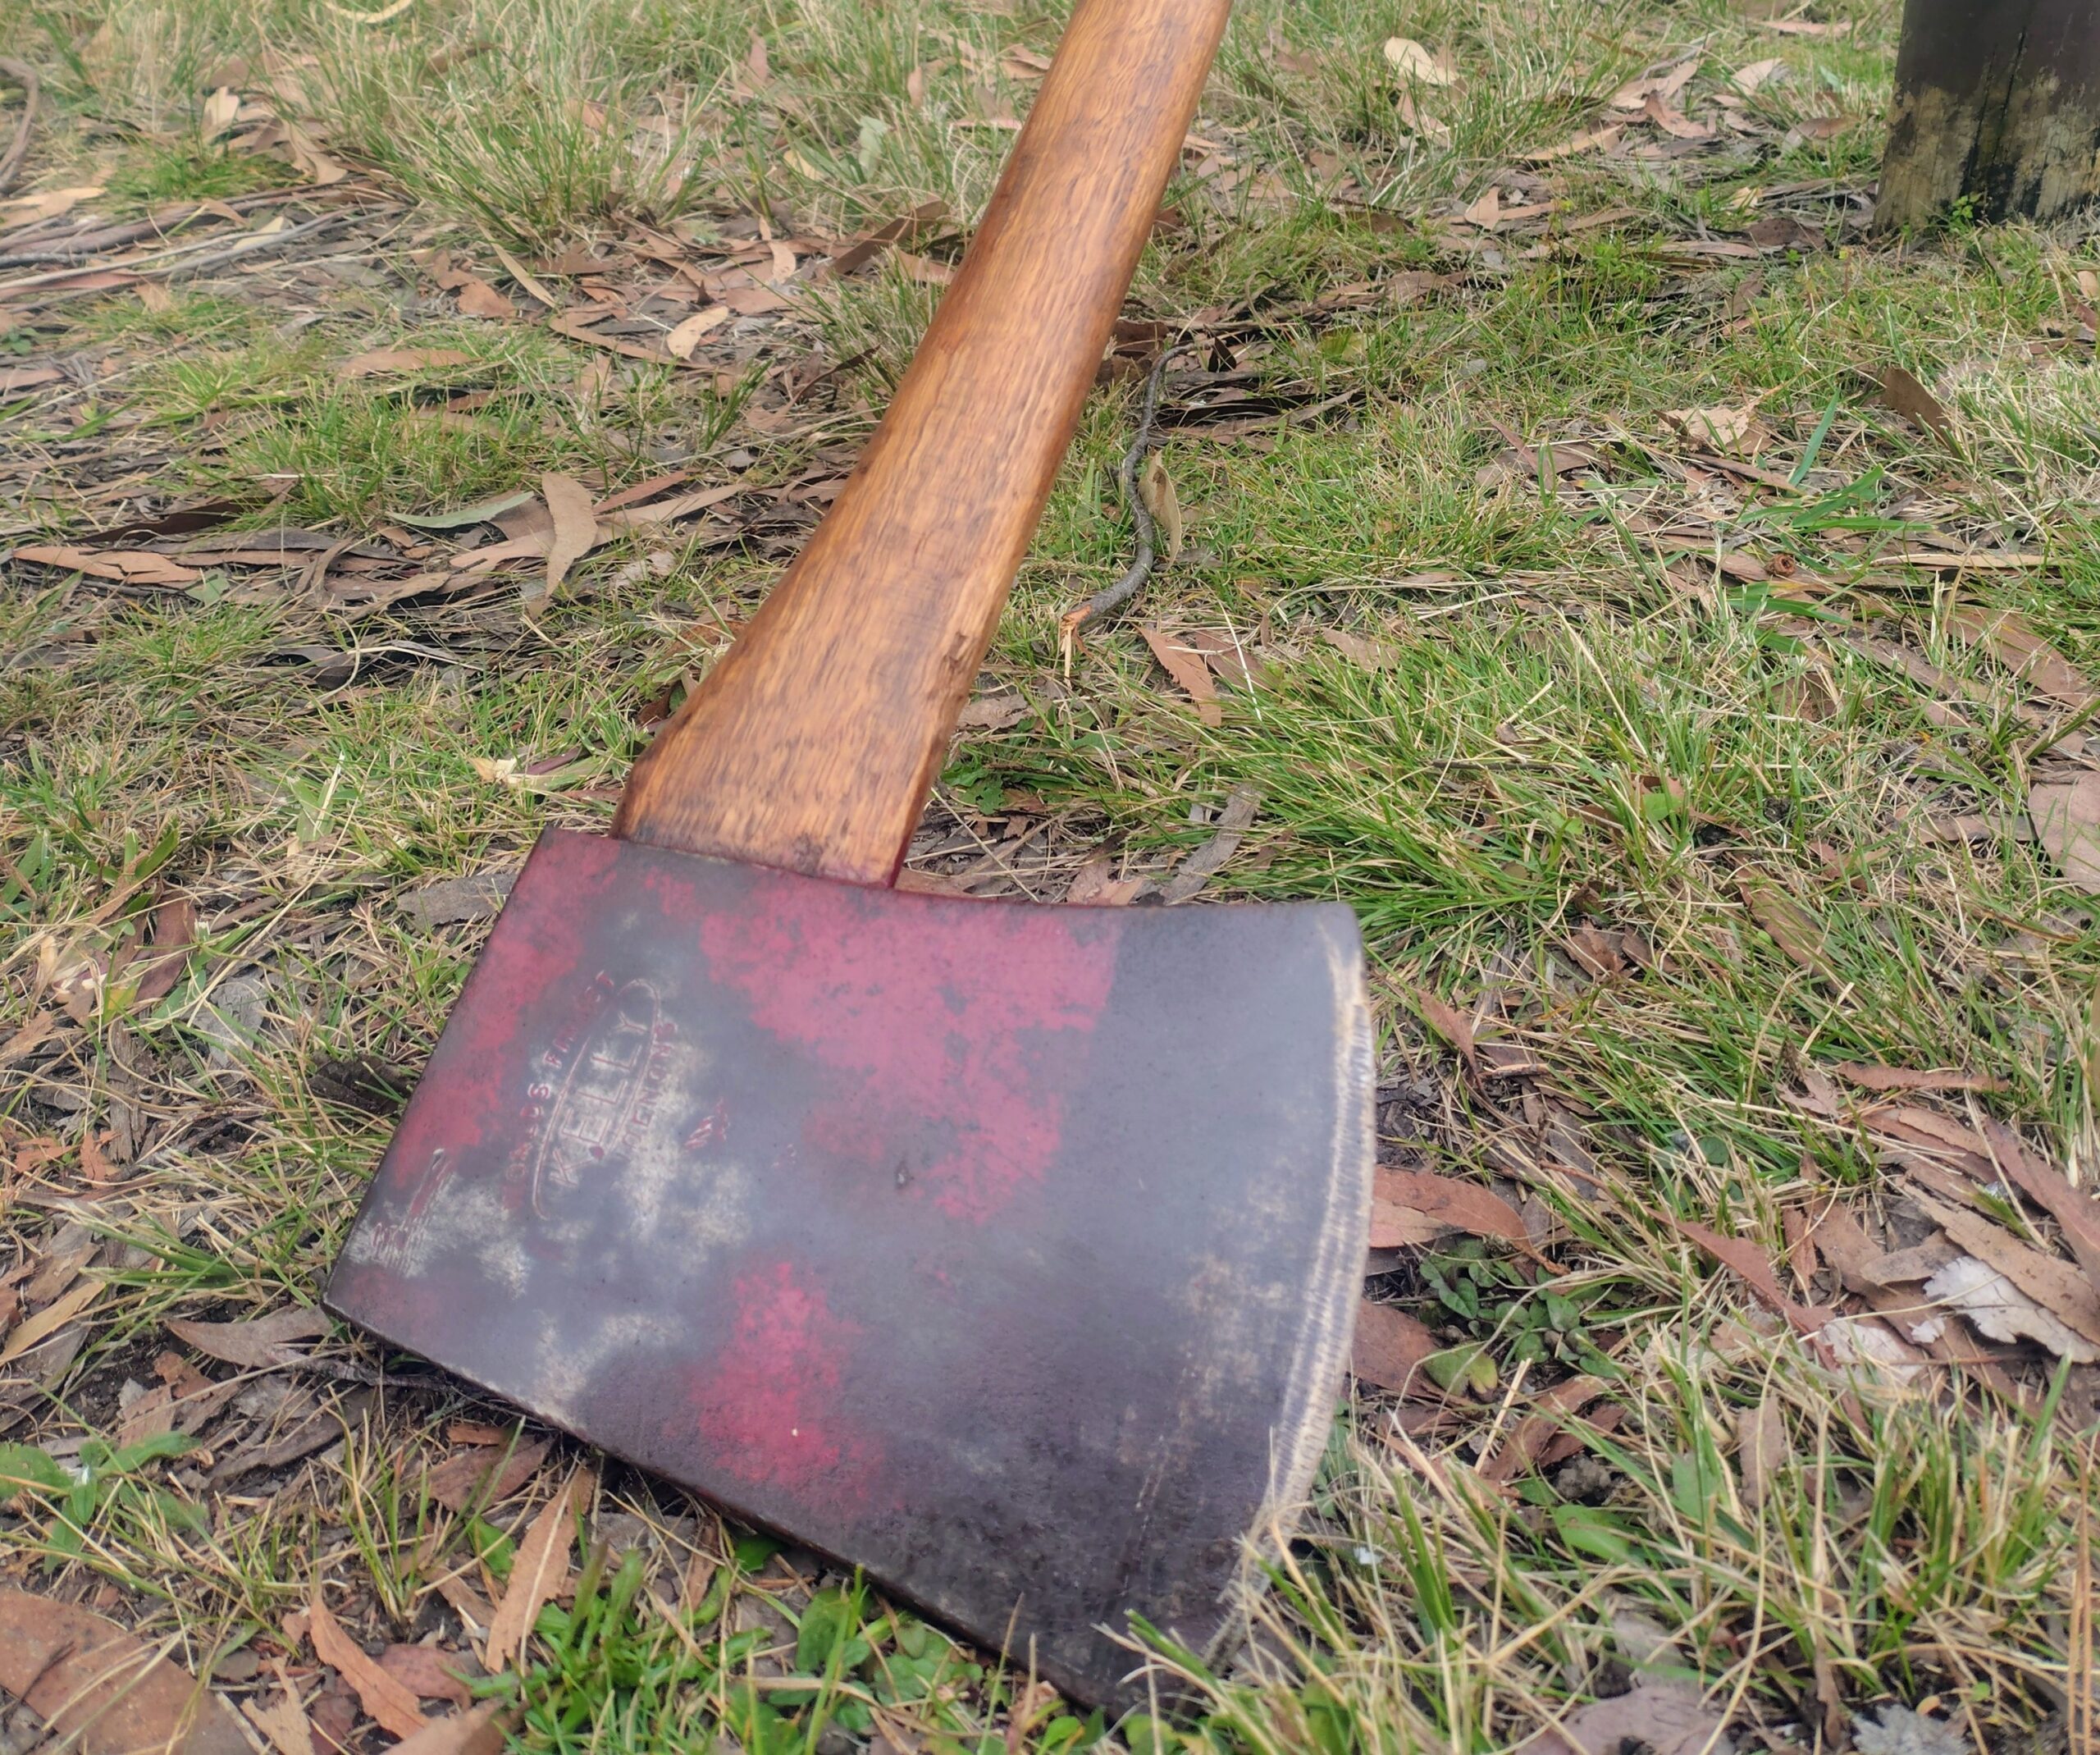
Original red paint, remarkably clean steel and one very questionable handle repair. This restoration will be about knowing when to leave well enough alone.
This Kelly Dandenong Tasmanian pattern axe recently arrived on the Forgotten Steel workbench in remarkably good condition. The head shows very little evidence of hard use, retains plenty of its original red paint and has a clean cutting edge with no significant chips or damage.
Unfortunately, the same cannot be said for the handle.
A substantial split has previously been glued back together and, while it may have been acceptable for display, I don’t consider it safe for a working axe. The handle will be removed and replaced, but the head presents a more interesting challenge. At some point it has been coated in what appears to be a clear lacquer, and removing that later coating without disturbing the surviving factory paint will require a careful approach.
This restoration will be less about bringing a neglected axe back from the dead and more about preserving what has already survived.
THE FIND
I found the Kelly at Grandpa’s Shed during a winter picking trip through the Southern Highlands with two of my boys. I’d been chasing a Kelly Dandenong for some time and, after a fair amount of bargaining, it came home with us.
The full story of the day, including the negotiation and the other tools we found along the way, can be read in A Pick Through the Southern Highlands.
For this article, we’ll stay at the workbench.
INITIAL ASSESSMENT
The head is in exceptional condition for its age. A substantial amount of original red paint remains, the poll corners are crisp and there is no obvious mushrooming or significant impact damage. The KELLY DANDENONG stamp is clearly identifiable, although relatively shallow, so aggressive cleaning around the mark is out of the question.
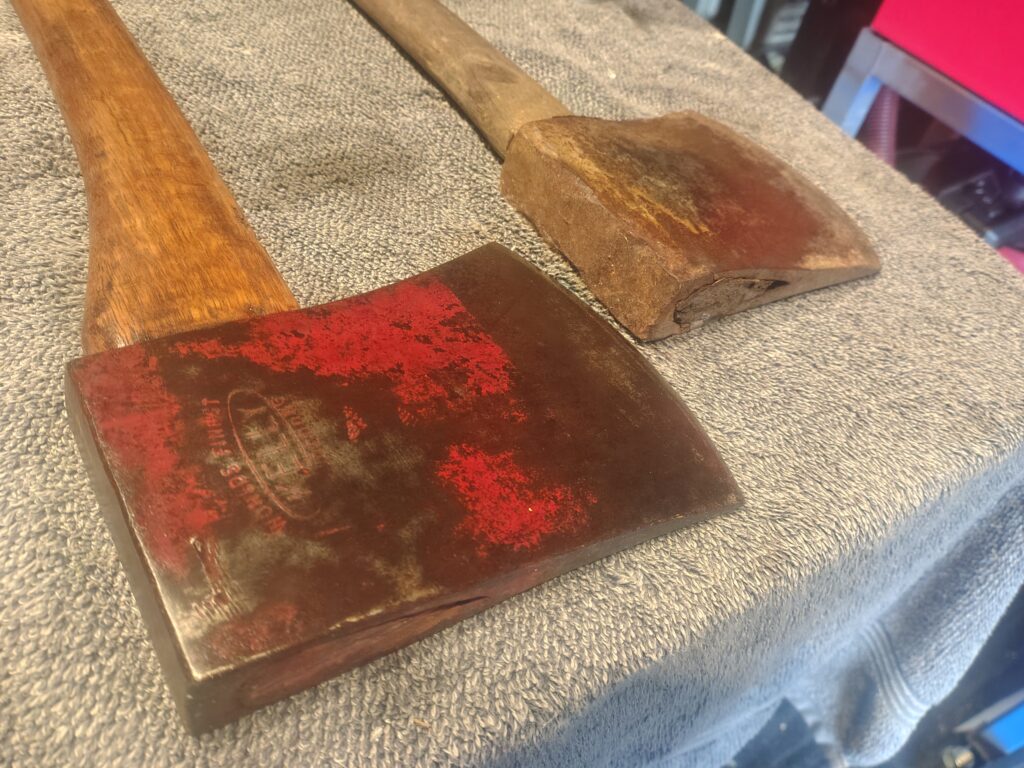
The cutting edge is also remarkably clean. There are visible file marks from previous sharpening, but no significant nicks or chips. The axe is arguably sharp enough to use now, although I will refine the edge further during the final stages of restoration to bring it to my preferred working standard.
The biggest concern is the handle. A long split through the timber has been glued and repaired, and I am not prepared to reuse it on an axe intended to be swung. Before removal, I’ll record the handle’s shape and dimensions, then inspect the eye once the old timber is out.
The other challenge is the clear coating covering the head. It appears to be some form of lacquer, although I won’t know exactly how stubborn it is until testing begins. The goal is to remove the later coating while preserving as much of the original red paint as possible.
There will be no wire wheel charging enthusiastically across this one.
The restoration plan is simple: remove the damaged handle, inspect the eye, carefully deal with the clear coating, preserve the original finish, refine the edge and fit a new handle suitable for another lifetime of work.
CLEANING & REVEALING THE STEEL
Restoration update coming soon.
The next stage will be removing the damaged handle and testing a few careful approaches to the clear coating. With so much original paint remaining, the least aggressive method that works will be the right one.
This article will be updated as the restoration progresses.
Restore it. Use it. Pass it on.