


Bringing forgotten steel back to life—without erasing the history that made it worth saving.
Every old axe has a story.
Some spent their lives felling towering Mountain Ash. Others cleared fence lines on family farms or sat behind the seat of a ute waiting for the next day’s work. Unfortunately, many eventually found themselves tossed into the corner of a shed, buried beneath decades of rust, grease and neglect.
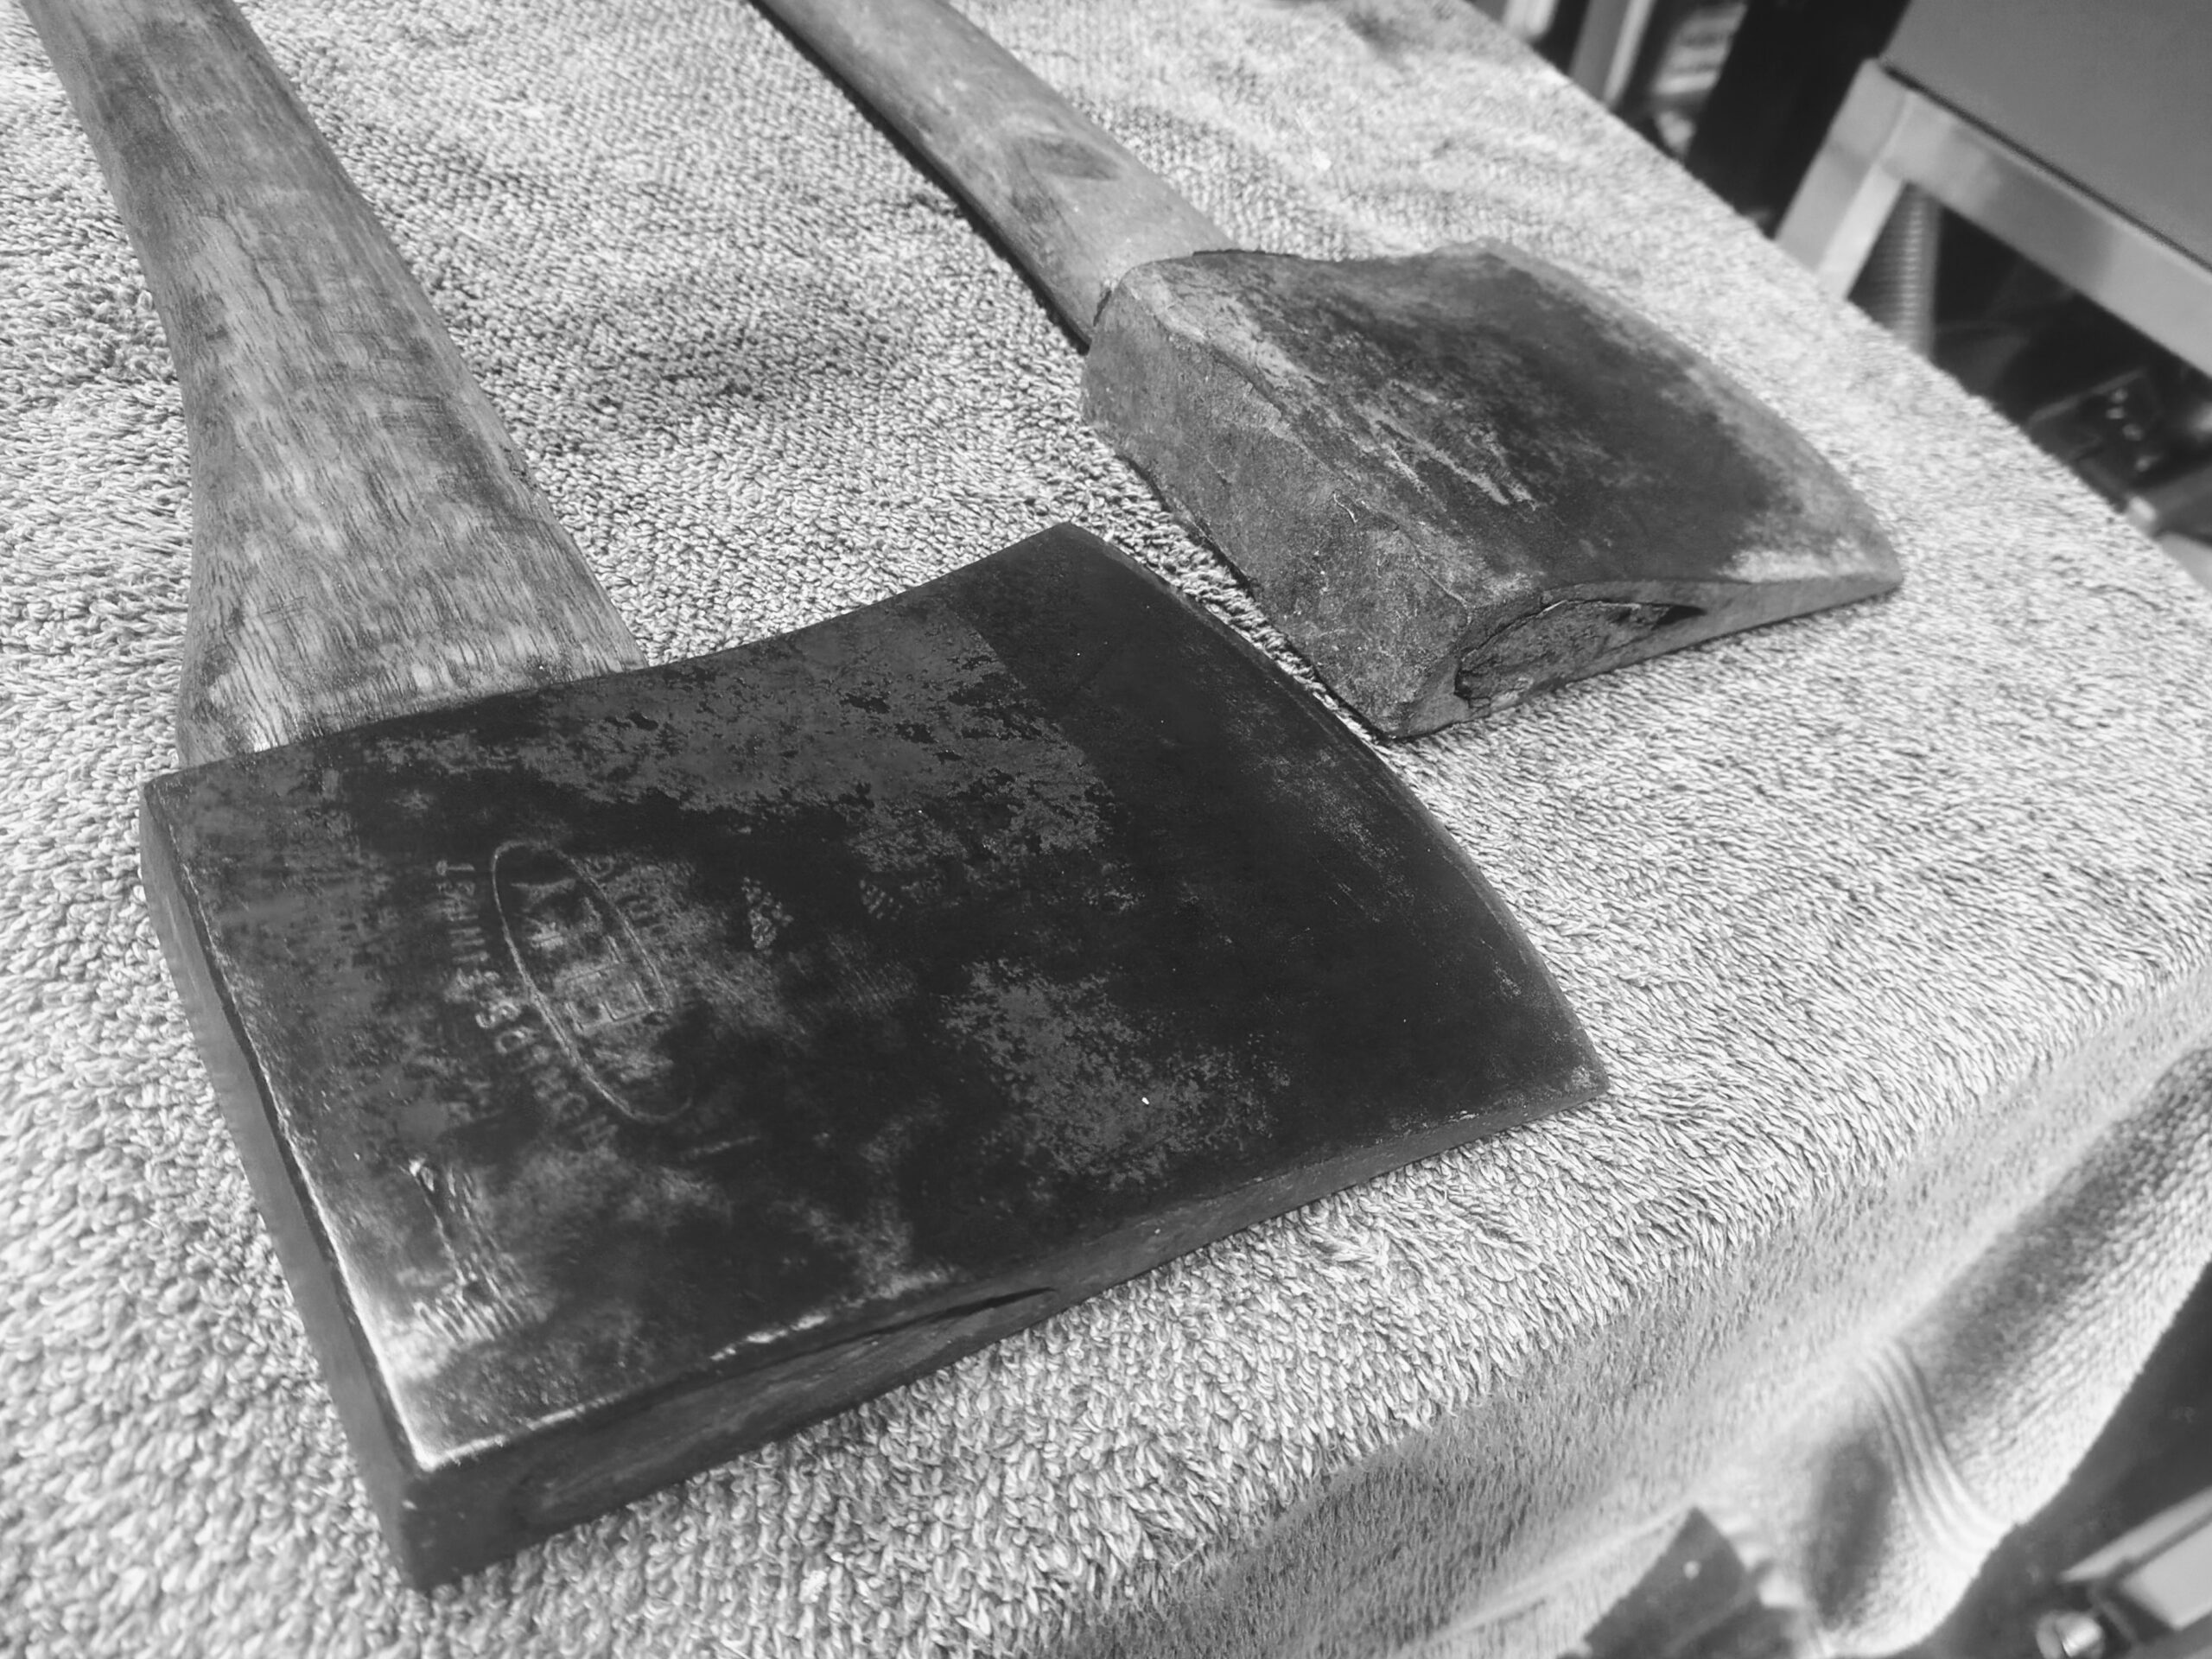
When you first pick one up, it’s tempting to imagine how impressive it would look polished to a mirror finish. Resist that temptation.
A good restoration isn’t about making an old axe look new.
It’s about preserving the craftsmanship, respecting its history, and returning it to a condition where it can once again do exactly what it was designed to do.
Think of yourself less as someone repairing an object and more as someone continuing its story.
Step One – Decide Whether It Deserves Restoring
Not every axe should be restored.
That might sound strange coming from a restoration website, but it’s true.
Some heads have been worn so heavily that there simply isn’t enough steel left to justify the work. Others have cracks through the eye or cutting edge that make them unsafe to use. Occasionally you’ll come across an exceptionally rare example that is actually worth more in untouched condition than it would be after restoration.
Spend a few minutes inspecting the head.
Look for deep cracks, mushrooming around the poll, excessive grinding that has altered the original profile, or heavy corrosion around the eye.
Surface rust isn’t a problem.
Missing steel is.
As the old saying goes, you can remove rust.
You can’t put steel back.
Having said that – those axes that are not suitable to be restored as users, can always be turned into something else. That will be a topic for another discussion.
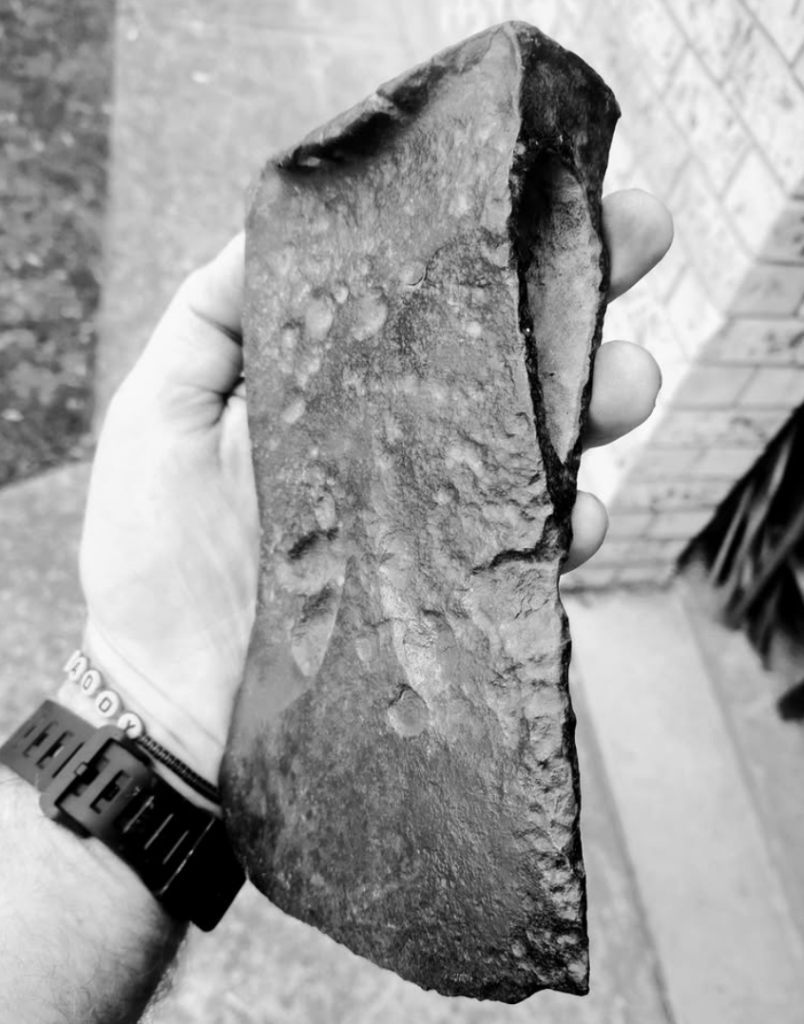
Step Two – Remove the Handle
If the old handle is broken, resist the urge to simply smash it out.
Driving a cold chisel through the eye might save five minutes, but it can also scar the inside of the eye or leave unnecessary marks around the edges.
Instead, drill through the wedge if it is timber, relieve the pressure around the head, and carefully drive the remaining wood out using a timber or brass drift. If the wedge is steel, you will need to drill out the timber around it – but its the same principle, reducing the pressure on the outside of the handle that is pressing up against the inner eye.
If the handle is original and in good condition, consider preserving it separately, even if you’re fitting a new one (usually only possible if you can drill out the wedge and not the handle timber). Original handles are part of an axe’s history, and they can provide valuable clues about how the tool was originally hung.
Step Three – Cleaning Without Destroying Character
This is where many restorations go wrong.
The goal isn’t to remove every mark the axe has earned over the last seventy or eighty years. The goal is to remove active corrosion while preserving the evidence of its working life.
Begin with a stiff wire or hard nylon bristle brush to remove loose rust and dirt.
From there, choose the least aggressive method that achieves the result you need.
For lightly rusted heads, hand tools, Scotch-Brite pads or fine abrasive paper are often enough.
For heavier corrosion, electrolysis or controlled rust removal solutions can be excellent choices because they target corrosion without removing healthy steel.
Angle grinders deserve a special mention.
They have their place in the workshop.
This isn’t it.
Few things destroy an old axe faster than an aggressive flap disc in impatient hands. Original forge marks disappear, crisp stampings become rounded, and before long the head starts looking less like a vintage tool and more like a melted bar of soap.
If you’re determined to use a grinder, at least have the decency to apologise to the axe first.
Step Four – Protect the Maker’s Stamp
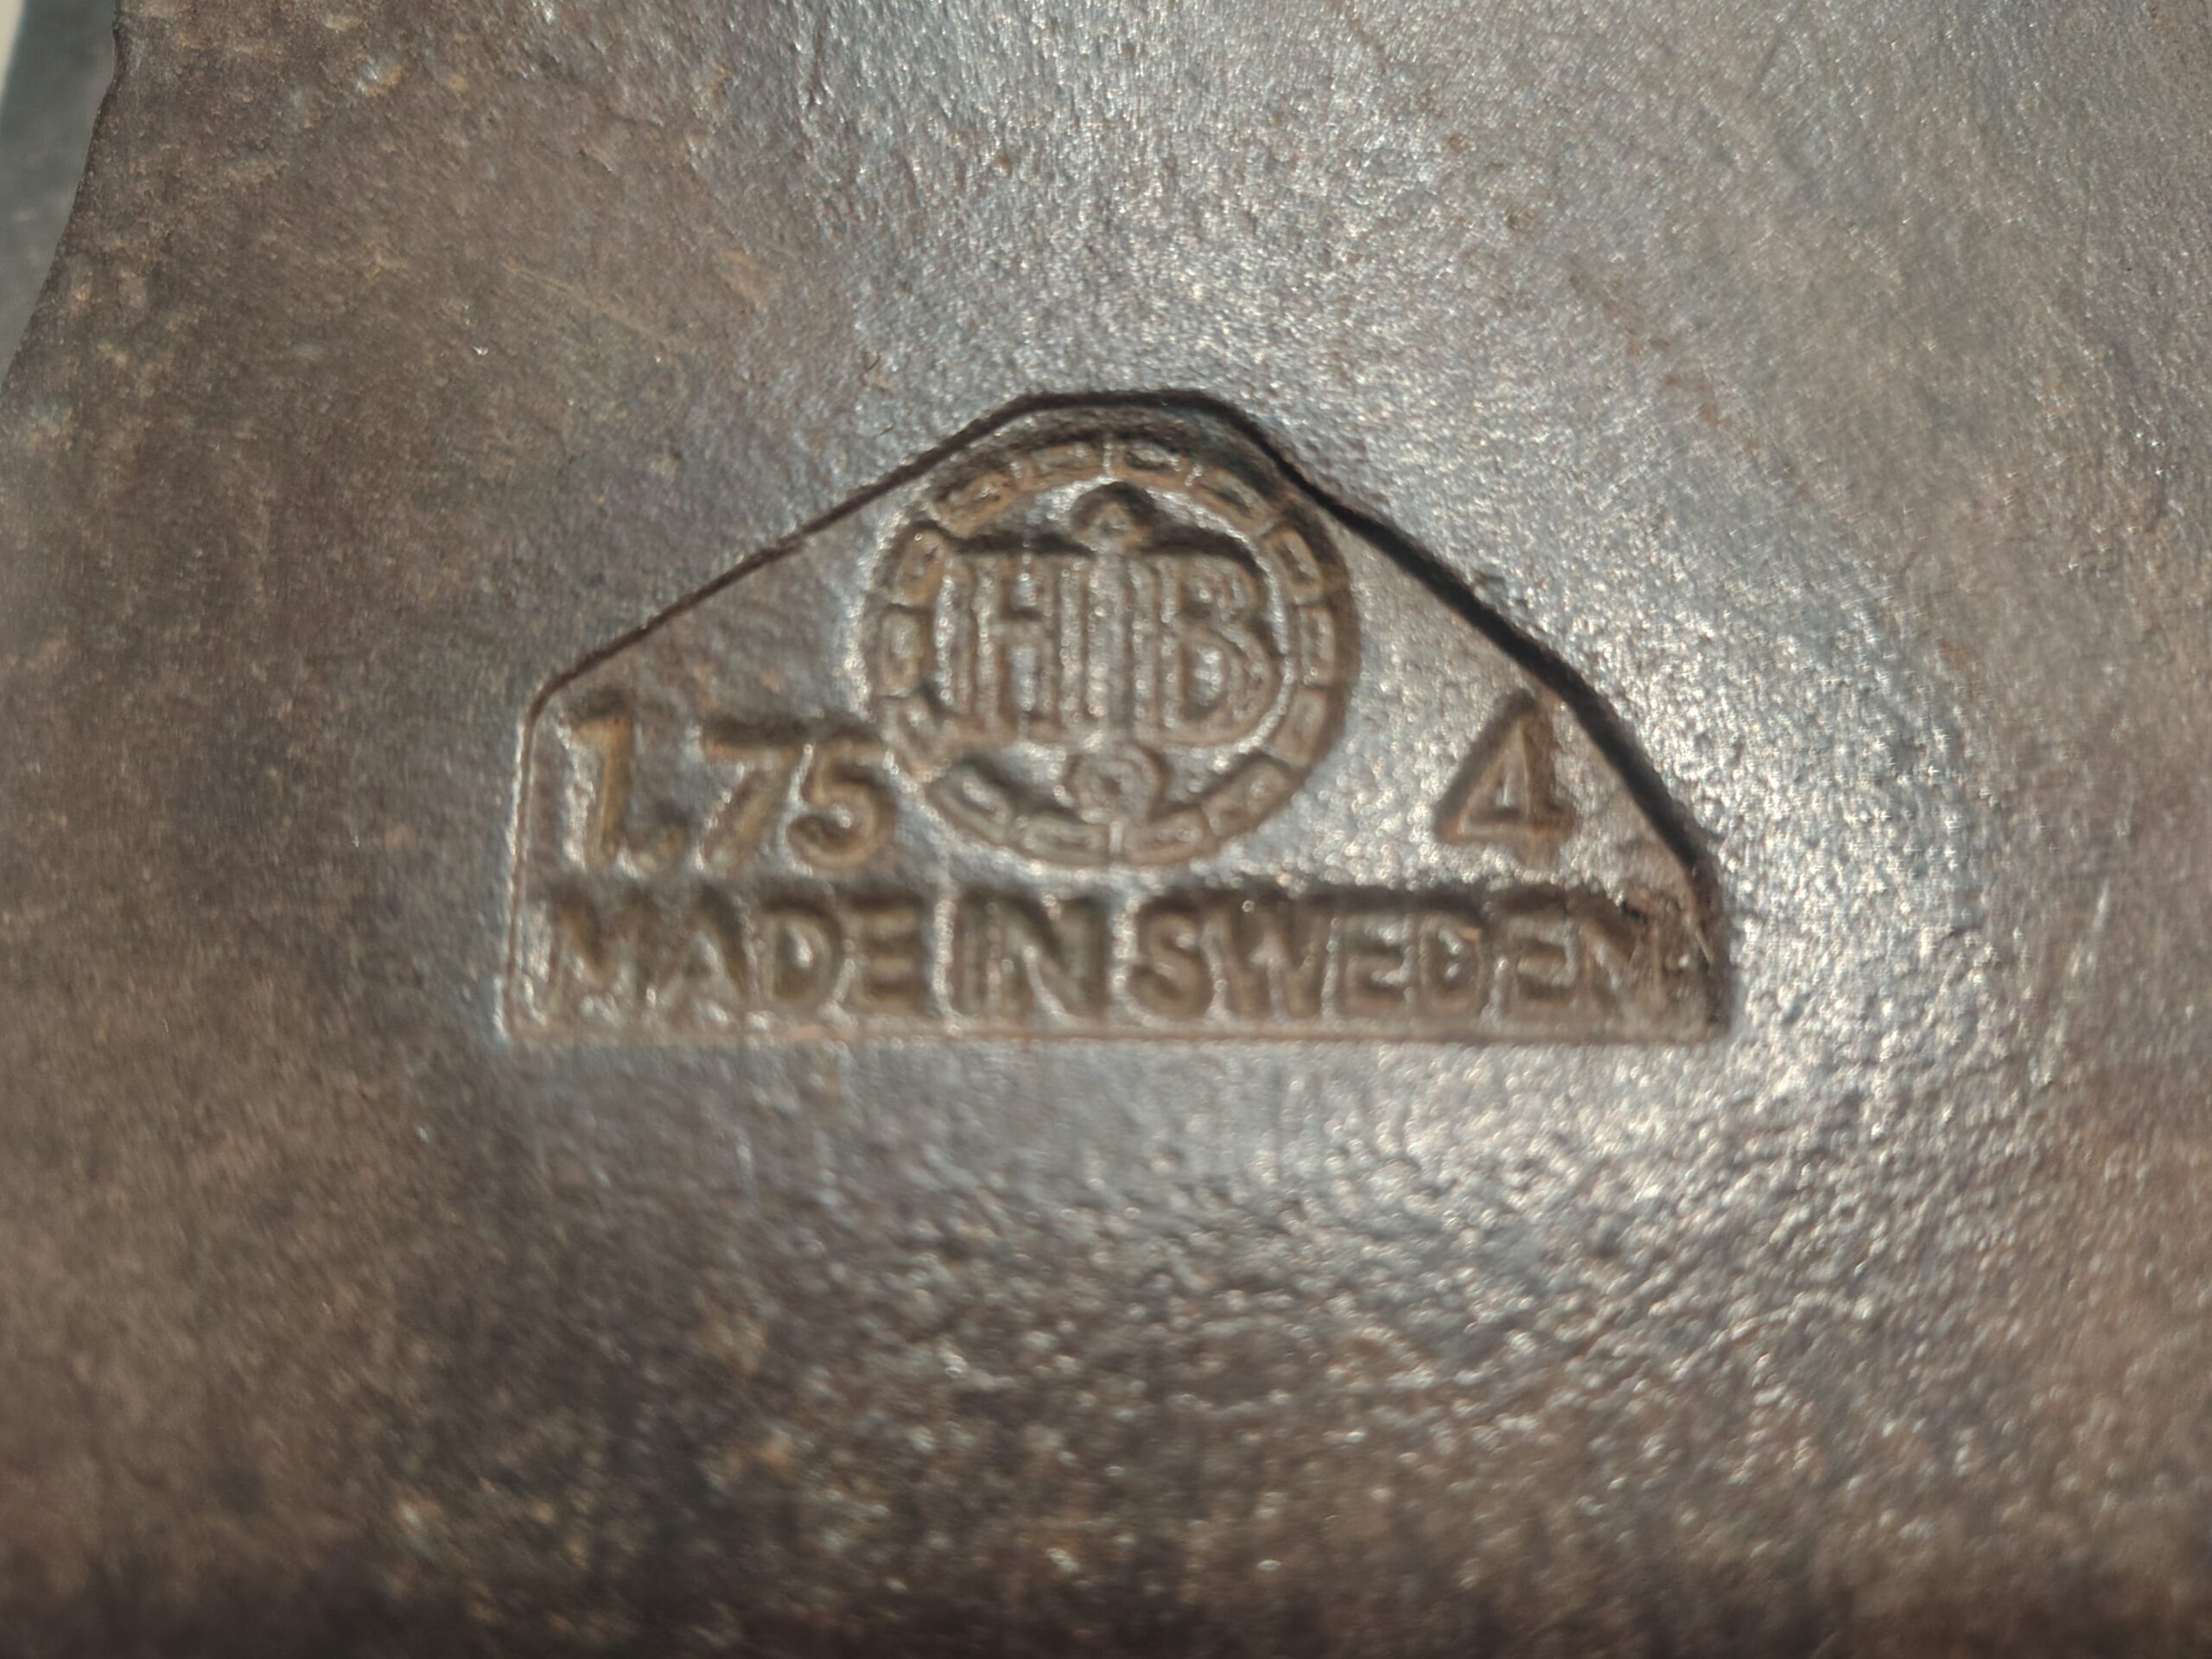
The stamp is the axe’s birth certificate.
Whether it’s Hytest, Kelly Dandenong, Plumb or Cyclone, those markings connect the head to its manufacturer, its era and often its collectability.
Whenever you’re working around the stamp, slow down.
Use hand tools.
Use light pressure.
Let the rust come away gradually.
You only get one chance to preserve those markings.
Once they’re gone, they’re gone forever.
Step Five – Inspect the Edge
A chipped edge isn’t necessarily a problem.
A cracked edge is.
Look carefully under good lighting.
Small chips can usually be removed during sharpening.
Deep fractures that extend back into the bit are a different matter entirely.
This is also the time to assess the profile.
Has someone ground the blade back so aggressively that the original Tasmanian Pattern geometry has disappeared?
Can it be sympathetically corrected?
Sometimes yes.
Sometimes no.
A good restoration works with what’s left rather than pretending damage never happened.
Step Six – Straighten Before You Sharpen
Occasionally you’ll find an edge that has been rolled, folded or lightly mushroomed after striking rocks, fencing wire or the occasional object that definitely wasn’t timber.
Minor distortions should be corrected before sharpening begins.
Take your time.
Steel removed unnecessarily can never be replaced.
Every millimetre matters.
Step Seven – Sharpening
A properly sharpened working axe is surprisingly different from a razor blade.
You aren’t trying to create a paper-thin edge.
You’re creating an edge capable of surviving repeated impacts into hardwood.
Maintain a smooth convex profile behind the cutting edge.
Avoid creating flat bevels that wedge into timber.
Work evenly from both sides and regularly check that the edge remains centred.
Remember…
Sharp enough to shave your arm might impress your mates.
Sharp enough to survive a day cutting Ironbark is what really matters.
Step Eight – Final Protection
Once the restoration is complete, clean away any remaining dust and fingerprints.
Apply a light protective coating to the steel.
At Forgotten Steel, every restored head receives a thin application of Workshop Oil & Wax before storage or fitting to a handle. It provides protection against moisture while leaving a finish that still feels like steel rather than grease.
The aim isn’t to seal the head away forever.
It’s simply to slow the return of corrosion while allowing the tool to continue ageing naturally.
Common Restoration Mistakes
After restoring hundreds of vintage tools, the same mistakes appear time and time again.
Mirror polishing every surface.
Grinding away forge marks.
Removing the maker’s stamp.
Painting over rust.
Using coarse grinding discs.
Overheating the cutting edge.
Filling pits with weld.
Rushing.
The irony is that most of these mistakes happen because people are trying too hard to make an old axe look new.
Old axes aren’t supposed to look new.
They’re supposed to look cared for.
There’s a very important difference.
Final Thoughts
A successful restoration isn’t measured by how shiny the finished axe is.
It’s measured by what you managed to preserve.
Every scratch, every stamp, every subtle forge mark tells part of the story. Remove too much and you erase history. Remove too little and the axe continues to deteriorate.
The art of restoration lies somewhere in the middle.
That’s the balance we’re always chasing.
From the Forgotten Steel Workbench
Some restorations take an afternoon.
Others take weeks.
The time doesn’t matter.
What matters is that, when you’re finished, you’ve left the axe better than you found it—not just cleaner, but respected.
One day, someone else will pick up that same head, notice the crisp maker’s stamp, the correct profile and the careful workmanship, and they’ll know that somewhere along the line, someone understood that good steel is worth saving.
That’s what Forgotten Steel is all about.